 Birch Bay Siding
 Siding Installation in Custer: A Climate That Doesn't Forgive Shortcuts
Custer sits close enough to the water that homes here take a version of Whatcom County weather that's a notch harsher than what you'd find further inland. Salt-laden air off the Strait works into every seam and fastener on a house. Driving rain, pushed sideways by wind off the water, finds gaps that would stay dry on a more sheltered lot. And the moss season here isn't a few weeks in spring — it's most of the year, feeding on the constant damp and shade that a lot of Custer properties sit under. Siding installed for a drier climate, or installed without real attention to water management, tends to show its age fast in this environment: swelling at the bottom edges, streaking, soft spots behind trim, and moss creeping up from the ground line.
None of that is inevitable. It's a function of what siding material is used and how carefully it's installed. This page is about one thing specifically: what it takes to install siding correctly on a Custer home, given the climate this neighborhood actually deals with.
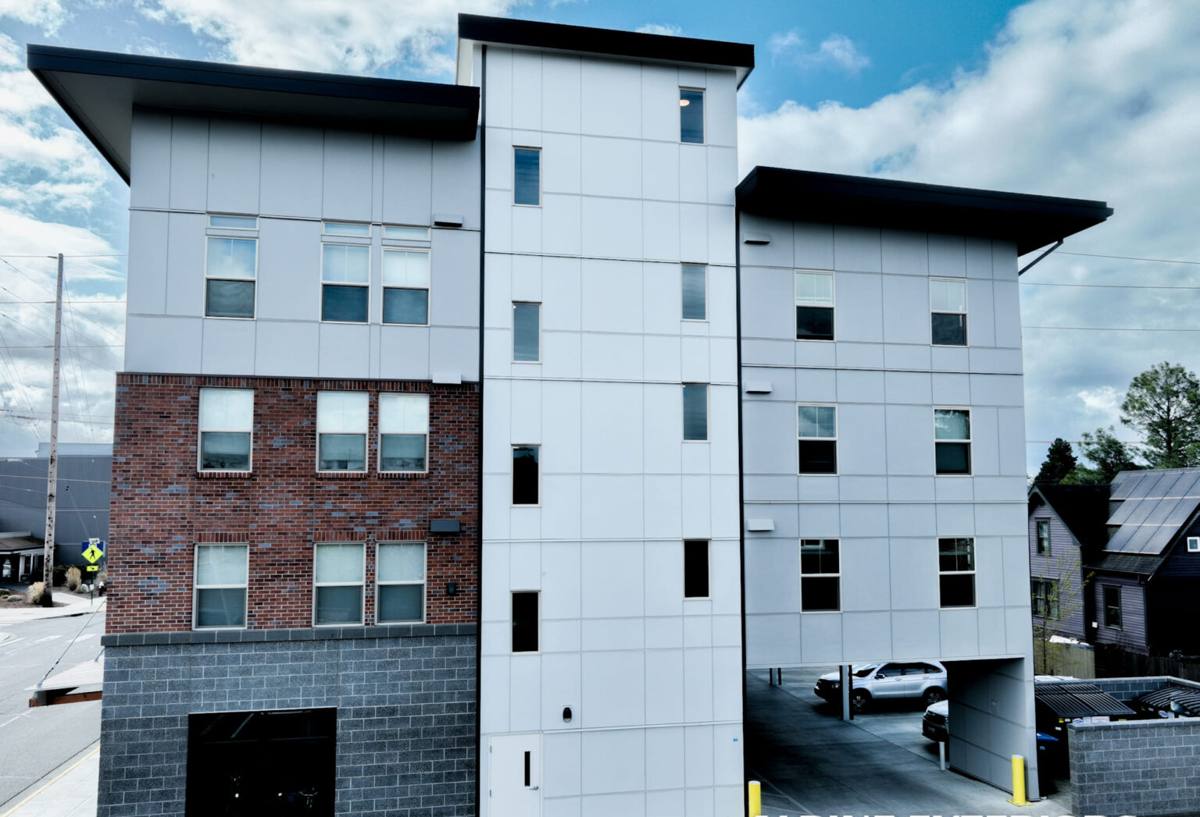
Why Custer Homes Wear Siding Differently Than Inland Properties
Three factors compound here in ways that matter for siding longevity:
Salt Air
Airborne salt is corrosive to exposed metal fasteners, flashing, and hardware, and it accelerates the breakdown of finishes that aren't built to resist it. Over years, a coastal-proximity home can show fastener staining, chalking, or finish failure well before the siding's rated lifespan — if the wrong materials or fasteners were used.
Driving Rain
Wind-driven rain doesn't just fall on siding, it gets pushed under laps, around corners, and into any gap at trim and penetrations. A siding system's water-shedding design — how laps overlap, how flashing directs water back out, whether there's a drainage plane behind the cladding — matters far more here than it does on a calm, sheltered inland lot.
Long Moss Season
Moss needs moisture, shade, and something to hold onto. Many Custer lots have mature trees and damp, low-airflow conditions for much of the year. Siding that traps moisture against its surface, or that has rough, absorbent texture near grade, gives moss exactly what it needs to establish. Once moss is established, it holds even more moisture against the wall — a cycle that accelerates rot and finish failure if left unaddressed.
What a Correct Siding Installation Actually Involves
The siding itself is only part of the story. Most siding failures we see in this area trace back to installation details, not the cladding material failing on its own. A correct job includes:
Water-Resistive Barrier and Flashing
A continuous, properly lapped weather-resistive barrier behind the siding is the actual waterproofing layer — the siding is the first line of defense, the barrier is the backup. Flashing at every window, door, deck ledger, and penetration has to be integrated with that barrier in the correct shingle-lap order so water is directed out and down, never trapped behind the cladding.
Rainscreen Gap
In a driving-rain, high-moisture climate like this one, a small ventilated gap between the back of the siding and the water-resistive barrier lets any moisture that does get past the cladding drain and dry out instead of sitting against the wall sheathing. This detail matters more in Custer than it would in a drier inland town.
Fastening
Fastener type, spacing, and placement are specified by the siding manufacturer for a reason — get them wrong (wrong material, over-driven, wrong location on the plank) and you create the exact stress and moisture entry points that cause premature failure, especially where salt air is present.
Clearances at Grade and Hardscape
Siding installed too close to soil, mulch beds, or paved surfaces wicks moisture continuously and stays damp longer after rain — exactly the condition moss and rot need. Correct clearance from grade is a small detail that has an outsized effect on how a wall performs over ten or twenty years.
Caulking and Sealant Discipline
Sealant should be used at specific transitions, not as a substitute for proper flashing. Over-reliance on caulk to "waterproof" a joint is a shortcut that fails within a few years, and it's one of the more common corner-cuts we see undone on older installations in this area.
Why James Hardie Fiber Cement Is the Only Siding We Install Here
We install James Hardie fiber cement exclusively — not vinyl, not LP SmartSide, not cemplank or other fiber cement alternatives, not primed spruce or cedar. That's a deliberate standard, not a default, and it's especially relevant in a place like Custer.
Fiber cement is non-combustible and dimensionally stable in a way wood-based products aren't, which matters when wide swings in seasonal moisture are part of daily life here. James Hardie's factory-applied ColorPlus finish is baked on under controlled conditions and engineered to resist fading and chipping better than field-applied paint — which matters directly in salt air, since a finish that's holding up well is a finish that isn't opening tiny cracks for moisture and salt to work into over time. Hardie also builds region-specific HZ5 product formulations for harsher climate zones, engineered with these exact conditions — damp, coastal-influenced, high-moisture-cycling environments — in mind.
We're not going to tell you every alternative product is bad; most have legitimate use cases somewhere. What we will say is that after years of doing this work in Whatcom County's coastal-influenced towns, we've seen which products hold their finish, resist moisture intrusion, and still look right after a decade of this specific climate — and fiber cement, installed correctly, is consistently what does. Standardizing on one manufacturer also means our crews are deeply practiced on one system's details, rather than spread thin across several.
Material Comparison for This Climate
| Material | Moisture Behavior Here | Salt Air Resistance | Moss/Algae Susceptibility |
|---|---|---|---|
| James Hardie fiber cement | Dimensionally stable, doesn't swell or rot | Factory finish engineered for exposure | Low, with correct clearance and rainscreen |
| Vinyl siding | Can warp/distort with heat cycling, doesn't rot but seams can allow water behind panels | Fasteners and trim pieces can corrode over time | Moderate, especially in shaded low-airflow areas |
| Untreated wood/cedar | Absorbs and releases moisture constantly; prone to swelling | Finish breaks down faster in salt exposure | Higher, especially at grade and shaded elevations |
| Primed spruce panel | Moisture-sensitive at cut edges and seams | Requires diligent repainting to hold up | Higher if maintenance lapses |
Our Process for a Custer Siding Installation
The process doesn't change dramatically because a house is in Custer versus elsewhere in the county, but the attention to certain details does.
1. On-Site Assessment
We look at the existing siding and sheathing condition, note any moss, staining, or soft spots, check clearance at grade, and evaluate how exposed the home is to prevailing wind and rain direction. A home tucked among mature trees gets assessed differently than one more open to the water side.
2. Tear-Off and Sheathing Check
Old siding comes off and we inspect the sheathing underneath for hidden moisture damage before anything new goes on. This is often where we find out whether prior installations had a working water-resistive barrier at all.
3. Water-Resistive Barrier and Flashing Installation
New barrier goes on with correct lapping, and flashing is integrated at every window, door, and penetration in the proper order — the step that determines how the wall performs in wind-driven rain years down the line.
4. Rainscreen and Fiber Cement Installation
Furring or a rainscreen product creates the drainage gap, then Hardie planks or panels go on per manufacturer fastening specifications, with correct clearance maintained at grade, decks, and roof lines.
5. Trim, Caulk, and Finish Details
Trim is installed and sealant applied only at the transitions where it belongs — not as a substitute for flashing. We walk the finished job checking for anything that could become a moisture entry point later.
6. Final Walkthrough
We go over the finished siding with the homeowner, note any manufacturer warranty registration details, and make sure clearances and drainage paths are visible and understood.
Signs a Custer Home May Need Siding Attention
- Visible moss or green staining low on the walls or under eaves
- Soft or spongy siding when pressed, especially near the bottom courses
- Paint or finish that's chalking, peeling, or has an uneven sheen
- Streaking or dark staining below window sills or trim joints
- Visible gaps, warping, or separation at seams and corners
- Fastener staining or rust bleeding through the finish
- Interior signs like musty smells or discoloration on walls that share an exterior wall
Cost Factors for Siding Installation in This Area
Every home is different, so we don't quote broad averages without seeing the property, but these are the main variables that affect the scope and cost of a project in Custer specifically:
| Factor | Why It Matters Locally |
|---|---|
| Extent of hidden moisture damage | Sheathing repair adds scope and is more common on homes with a history of poor water management |
| Home exposure to wind and water | More exposed elevations may need extra flashing detail and attention at penetrations |
| Existing siding removal complexity | Multiple layers of old siding or extensive trim work adds labor |
| Trim and detail work (windows, corners, fascia) | Custer homes with more architectural detail take more careful flashing and fitting |
| Access and site conditions | Mature trees, slopes, and tight lot lines common in the area can affect staging and labor |
Why Hiring a Crew That Already Works Custer Matters
A crew that's worked this specific pocket of Whatcom County already knows what to look for: which elevations tend to take the worst of the wind-driven rain, how much moss pressure to expect given the tree cover common on local lots, and where prior installations in this area have typically cut corners. That's not something you get from a general contractor working here for the first time — it comes from doing this work repeatedly in this exact climate and seeing, over time, what actually holds up.
It also means fewer surprises during the job. We're not guessing at how a given detail will perform against salt air and driving rain — we've already seen how it performs on homes not far from yours.
Ready to Talk About Your Siding?
If you're noticing moss, staining, soft spots, or aging siding on your Custer home, we're happy to take a look and give you an honest read on what's going on and what it would take to fix it right. Reach out below for a free, no-pressure estimate — there's no obligation, and we'll tell you plainly what we find.