 Birch Bay Siding
 Why Point Roberts Puts New-Construction Windows to the Test
Point Roberts sits on an exposed point of land bordered by water on three sides, which means every new build there deals with more sustained salt air, wind-driven rain, and dampness than a typical inland Whatcom County lot. Add in the region's long moss season — months where surfaces rarely get a full dry-out between rain events — and you have a climate that is unusually hard on window openings specifically. A window opening is the single biggest penetration in a wall assembly. If it isn't detailed correctly when the house is being framed, the consequences don't show up right away. They show up two, five, or ten years later as stained sheathing, soft framing around the rough opening, or a slow mold problem inside a wall cavity that nobody can see until the siding comes off.
New-construction window installation is the point in a build where you get one real chance to do this correctly. Once siding, trim, and interior finishes go on, fixing a bad flashing job means tearing back out work that's already been paid for. That's the reason we treat this stage differently than a simple replacement job — the stakes and the sequencing are not the same.
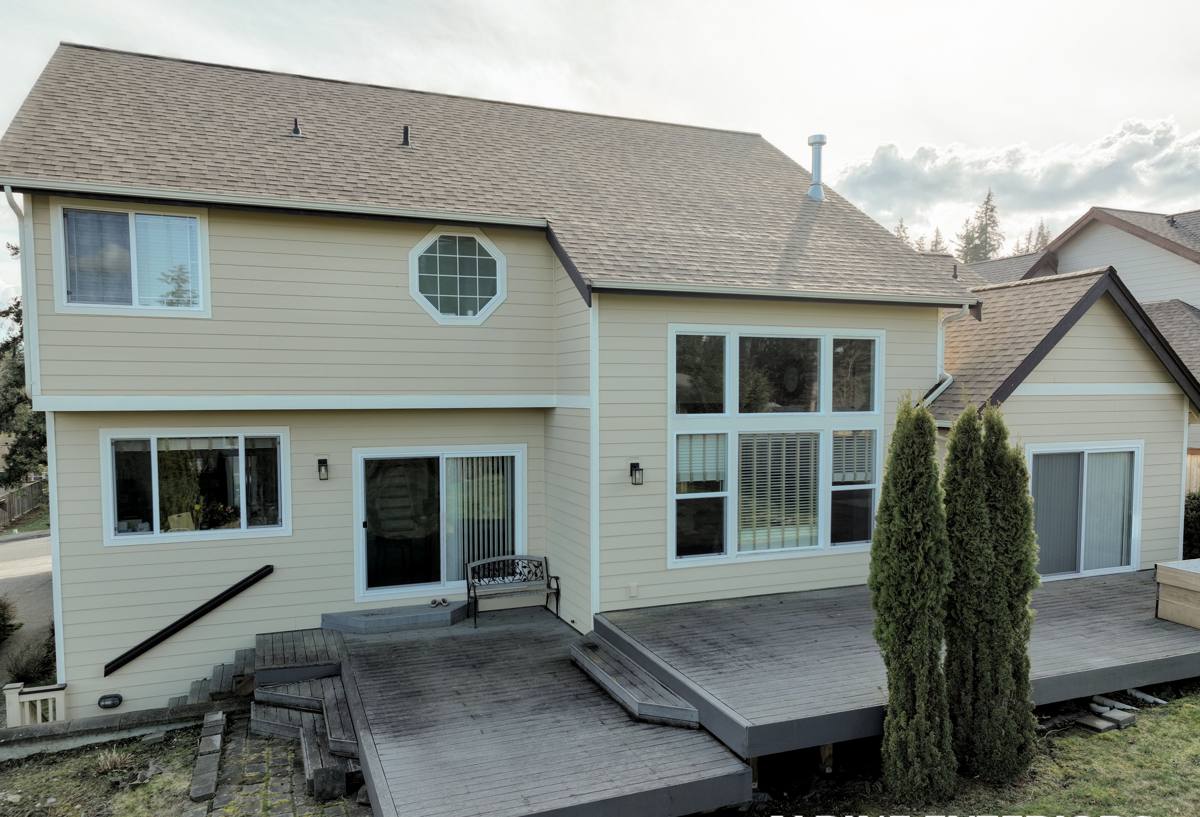
New Construction vs. Replacement: Not the Same Job
Homeowners sometimes assume a window is a window, but the install method depends entirely on what's around it. In an existing home, a replacement window usually goes into an opening that already has finished siding and interior trim around it — the work is done from the outside in, fitting a new unit into an existing hole with minimal disturbance. New construction is the opposite: the wall is open, the weather-resistive barrier (WRB) hasn't been installed yet or is going in at the same time, and the window itself becomes part of the wall's water-management system rather than something dropped into a finished one.
That distinction matters most in a place like Point Roberts, where the wall assembly needs to shed water and salt-laden moisture for decades without a chance to "catch up" during a dry stretch. A new-construction install lets us build the drainage plane correctly around the window from the start — sill pan, flashing laps, and rain-screen gap all done in the right order, rather than worked around after the fact.
Who This Applies To
This service is for new builds, additions, and full envelope rebuilds — situations where the rough openings are exposed and the WRB and siding haven't gone on yet. If you're replacing failing windows in an existing wall, that's a different scope with different techniques, and we'll tell you plainly which category your project falls into before we quote it.
What a Correct New-Construction Window Install Actually Involves
Sill Pan Flashing First
The sill is where water that gets past the window will end up, so it's the first thing we address — not the window itself. A properly sloped sill pan, built or applied so water drains outward rather than pooling against the framing, is the single most important detail in the whole install. Skipping this or relying on caulk alone at the sill is one of the most common shortcuts we see on older builds we're later called in to repair.
Shingle-Lap Order for Flashing
Flashing tape and building paper have to be layered like shingles on a roof — each higher piece overlapping the one below it — so water is always directed outward and down, never trapped behind a lap. Sill flashing goes on first, then jamb (side) flashing overlapping the sill legs, then head flashing overlapping the jambs, then the WRB integrated over the top. Get this order wrong and water that reaches the flashing layer gets funneled into the wall instead of away from it.
Where Sealant Belongs — and Where It Doesn't
Sealant is a backup, not a primary water barrier. We use it at specific joints the manufacturer specifies — typically behind the nailing flange and at trim joints — but we don't rely on a bead of caulk around the window's exterior face to do the job that proper flashing should already be doing. In a marine climate, sealant alone fails faster than people expect, especially once UV and salt exposure start breaking it down.
Choosing Frame Materials for a Marine Climate
Frame material is a bigger decision near the water than it is a few miles inland, because salt air accelerates corrosion on hardware and finishes. There's no single "best" answer for every project — it depends on budget, exposure, and how much upkeep an owner wants to sign up for.
| Frame Material | Salt Air / Corrosion Resistance | Maintenance | Typical Cost Position |
|---|---|---|---|
| Vinyl | Good — won't corrode, but can become brittle over many years of UV and salt exposure | Low | Lower |
| Fiberglass | Very good — dimensionally stable, holds paint and finish well in coastal exposure | Low to moderate | Mid to upper |
| Aluminum-clad wood | Depends heavily on cladding quality and hardware spec; needs corrosion-rated fasteners | Moderate — wood interior needs normal upkeep | Upper |
| Bare aluminum | Poor in direct salt exposure without a marine-grade finish | Higher | Lower to mid |
Whatever frame material a homeowner chooses, we insist on corrosion-resistant fasteners and hardware throughout — stainless or coated screws at minimum on any exposed elevation. Using standard hardware to save a few dollars on a Point Roberts build is one of those decisions that looks fine on move-in day and causes streaking, staining, or hardware failure well before the rest of the window is due for attention.
Energy Code and Performance Numbers That Matter Here
Washington's state energy code sets minimum performance requirements for new-construction windows, and those minimums are a floor, not a target, for a site with this much wind and marine exposure. Two numbers matter most:
- U-factor — measures how much heat the window lets escape; lower is better for our wet, cool climate.
- SHGC (Solar Heat Gain Coefficient) — matters less for heat loss and more for how much solar warmth the window lets in, which affects comfort near large, uncovered glass areas.
We size and spec glass to meet or beat current code minimums for the local climate zone, and we flag it plainly if a homeowner's window plan (large uncovered spans facing prevailing weather, for example) is going to underperform regardless of the glass package — that's a design conversation worth having before framing locks it in, not after.
Our Install Process, Framing to Final Trim
- Rough opening check — verify openings are square, correctly sized, and properly flashed at the header before any window goes near them.
- Sill pan installation — sloped drainage built into every opening before the unit is set.
- Dry-fit and set — window set in the opening, checked for level, plumb, and square, and shimmed correctly so it isn't relying on fasteners to hold shape.
- Flange fastening — nailing flange fastened per manufacturer spec, which affects the warranty as much as it affects performance.
- Flashing integration — jamb and head flashing tied into the WRB in proper shingle-lap order.
- Rain-screen gap and siding tie-in — trim and siding built out from the wall enough to let any incidental moisture drain and dry, rather than sitting flush against a damp plane.
- Interior seal and insulation — gaps between frame and rough opening filled with a compatible low-expansion product, not packed tight enough to bow the frame.
Every step in that sequence happens before siding goes on, which is exactly why new-construction window work has to be coordinated with the framing and siding schedule rather than treated as a separate trade dropped in whenever it's convenient.
Why Local, Point-Roberts-Familiar Crews Matter
Point Roberts has a logistical quirk that affects every trade working there: it's a U.S. community reached by road only through Canada, which means material deliveries and crew scheduling have to account for that crossing. A crew unfamiliar with the area can lose real time to that alone, and lost time on an exposed job site during a wet stretch is exactly when half-flashed openings sit open to weather longer than they should.
Beyond logistics, there's a real difference in exposure between a sheltered Birch Bay lot and an open Point Roberts site facing the water directly — wind-driven rain hits some elevations far harder than others just a short distance away. A crew that's worked the area knows which elevations need extra attention on flashing laps and which window placements are more exposed than the plans might suggest, and prices and sequences the job accordingly instead of learning that on-site.
Signs a New-Construction Window Job Was Done Wrong
Most bad window installs don't fail on day one — they fail years later, quietly, inside the wall. If you're evaluating a build (yours or one you're buying), these are worth checking:
- Visible bead of caulk as the only thing sealing the window's exterior perimeter, with no sign of flashing tape underneath the trim
- No slope visible at the sill, or trim that sits flush against the sheathing with no drainage gap
- Standard (non-coated) fasteners used on an ocean-facing or water-facing elevation
- Flashing tape installed in the wrong order — head flashing tucked under the WRB instead of over it, for example
- Staining, dark streaking, or soft trim developing at window corners within the first few years
- No documentation of which flashing products were used, which can affect both performance and warranty claims later
Getting This Right the First Time
New-construction window installation is one of those parts of a build that's invisible once it's done well and expensive once it's done poorly. In Point Roberts, with salt air, driving rain, and a moss season that keeps everything damp longer than most of the county, there's very little margin for skipped steps. If you're planning a new build or addition in the area and want a straight answer on what your window openings need, we're glad to walk the plans with you and give you a free, no-pressure estimate — no obligation, just an honest look at what the job actually requires.