 Birch Bay Siding
 Why New-Construction Windows Take a Different Approach
New-construction windows are not the same product as the replacement windows most homeowners are familiar with. They use a nailing flange around the perimeter of the frame that gets fastened directly to the wall sheathing and integrated into the home's weather-resistive barrier (WRB) before siding goes on. That's different from a pocket replacement window, which gets fitted into an existing frame after the fact. Because a new-construction window is installed while the wall is still open, the crew has full access to the sheathing, the framing, and the flashing plane — there's no old caulk, no hidden rot, and no guesswork about what's behind the wall.
That access is also the opportunity. Get the flashing and integration right at this stage, on a home in the Marietta area near Birch Bay, and you've built a window opening that can handle decades of coastal weather without a callback. Get it wrong, and it's often years before anyone notices — usually as a stain, a soft spot, or a musty smell that traces back to a flashing detail nobody checked before the siding closed it in.
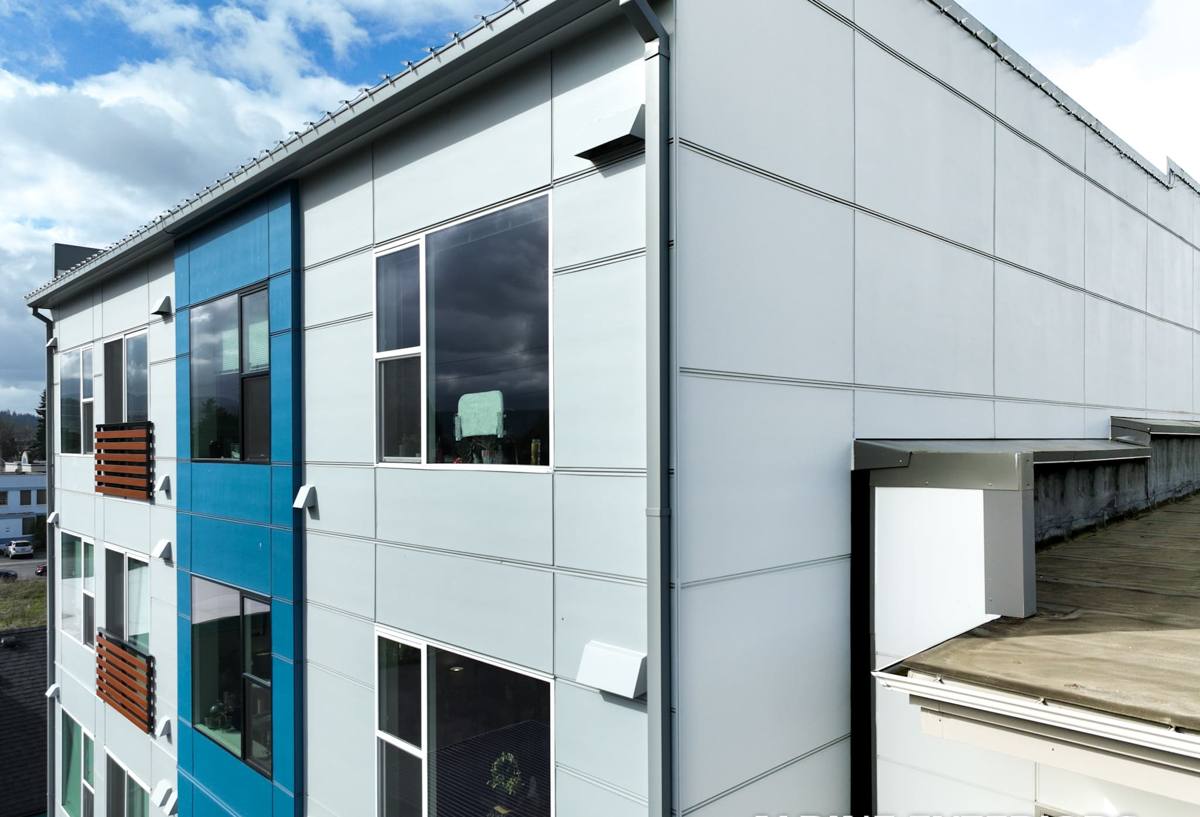
What Marietta's Shoreline Climate Asks of a Window Install
Salt Air and Corrosion
Homes near Birch Bay sit close enough to the water that salt-laden air is a real factor in material selection, not a theoretical one. Fasteners, flashing metal, and window hardware that would be fine a few miles inland can pit and corrode faster near open water. That doesn't mean every material is off the table — it means the ones we use, and how we fasten them, need to be chosen with that exposure in mind.
Driving Rain
Wind off the water in Whatcom County doesn't just drop rain straight down — it drives it sideways into a wall, which puts real pressure on every seam around a window opening. A window that would be fine in a sheltered inland lot can leak on an exposed Marietta site if the sill pan, flashing, and WRB integration aren't sequenced correctly. This is a detailing problem, not a product problem — even a top-tier window will leak if it's flashed wrong.
A Long Moss Season
Western Whatcom County's long stretch of damp, low-light months means any wall assembly that traps moisture stays wet for a long time before it gets a chance to dry out. Moss and algae growth on exterior surfaces is a visible sign of that dampness, but the bigger concern is what a similar amount of trapped moisture does behind the siding, at the sheathing and framing around a window rough opening, where nobody can see it until there's a problem.
What a Correct Installation Actually Involves
On a new-construction window, the sequence matters as much as the window itself. A correct install generally includes:
- A sloped, back-dammed sill pan flashing at the bottom of the rough opening, so any water that gets past the window drains back out — not into the wall
- Proper shingle-lap integration with the WRB, so each layer overlaps the one below it and water is always directed outward and down
- Head flashing or a drip cap above the unit to break the flow of water running down the wall
- Fasteners set per the window manufacturer's schedule — not just wherever is convenient
- Sealant used only at the specific joints the manufacturer calls for, never as a substitute for flashing
- The unit shimmed square and plumb in the opening before it's fastened off, so it operates and seals correctly for the life of the window
None of this is unusual or exotic — it's the standard most window manufacturers publish in their own installation instructions. The difference on a Marietta build is that skipping a step, or rushing the flashing lap because the framing crew is waiting on the wall to close up, has a lot less margin for error than it would on a more sheltered site.
Choosing a Frame Material for a Marietta Build
There's no single "right" frame material for every project — it depends on budget, style, and how exposed the specific elevation of the home is. Here's how the common options compare for a shoreline-adjacent build:
| Frame Material | Coastal / Salt-Air Performance | Maintenance | Typical Cost Tier |
|---|---|---|---|
| Vinyl | Good — won't rust or corrode; look for a UV-stable formulation for long-term appearance | Low — occasional rinse | $ |
| Fiberglass | Excellent — dimensionally stable through temperature and humidity swings, no corrosion | Low | $$ |
| Aluminum-clad wood | Good on the exterior face when properly clad and detailed, but any exposed fasteners or trim need marine-grade corrosion resistance | Moderate — the wood interior needs normal upkeep | $$$ |
| Bare aluminum | Weakest choice this close to open water unless a marine-rated finish is specified | Higher — finish maintenance over time | $ |
We'll walk through which of these fits a given elevation, budget, and design goal during the estimate — there's rarely one right answer for an entire house, and it's common to see a more weather-exposed wall spec'd slightly differently than a sheltered one.
Meeting Washington's Energy Code and Wind Requirements Without Guesswork
New-construction windows on a Whatcom County project have to satisfy more than just "does it fit the opening." The Washington State Energy Code sets minimum U-factor and solar heat gain performance for the glass package, and every unit should carry an NFRC label documenting those numbers so the builder can show code compliance at inspection. Bedroom windows need to meet egress size and sill-height requirements. Certain locations near doors, stairs, and low sills call for tempered safety glass. And on a site exposed to real wind off the water, the window's design pressure (DP) rating — how much wind and water load it's engineered to resist — should match the exposure of that wall, not just be whatever the builder's standard spec happens to be.
None of this is complicated when it's planned up front. It becomes a problem when a window gets ordered before anyone checks whether it's rated for the wall it's going into.
How Our Process Works on a New Marietta Build
We work directly with the builder's or homeowner's schedule rather than trying to force our own timeline onto the job:
- We review the window schedule and rough opening sizes before units are ordered, flagging any opening that doesn't match or any wall that needs a higher wind/water rating than spec'd
- We verify every rough opening is square, plumb, and properly sized before a single window arrives on site
- Each unit is installed to the manufacturer's written instructions — flashing, WRB integration, fastening, and sealant placement in the order that keeps the warranty intact
- We inspect and document the flashing and integration on every opening before siding closes it in, since that's the last point anyone can see the work
- We do a final walk-through on operation, reveal, and seal before calling the install complete
That documentation step matters more on new construction than people expect. Once the siding goes on, the flashing behind it is invisible for the life of the house — catching an issue before that happens is far less costly than finding it years later as a repair.
What Drives the Cost of a New-Construction Window Package
| Factor | Why It Moves the Price |
|---|---|
| Window count and size | More openings and larger units mean more material, more flashing detail, and more labor hours |
| Design pressure (DP) rating | Units engineered for higher wind and water exposure use heavier frames and hardware |
| Frame material | Vinyl, fiberglass, and clad-wood price differently, as shown above |
| Glass package | Low-E coatings, argon fill, and tempered or laminated glass where required add cost |
| Grille pattern and hardware finish | Custom grille patterns and upgraded hardware finishes are line-item upgrades |
| Coordination complexity | Tight builder schedules or non-standard openings add labor time |
We'd rather walk a homeowner or builder through these factors with real numbers for their project than throw out a broad range that doesn't mean much on its own.
A Practical Checklist Before Siding Goes On
Whether you're a homeowner watching your own build or a builder bringing in a window crew, these are the things worth confirming before the wall closes up:
- Rough openings checked square, plumb, and to the size on the window schedule
- Sill pan flashing installed and sloped to drain outward — not just caulked flat
- Window integrated into the WRB in proper shingle-lap order, with no reverse laps that trap water
- Head flashing or a drip cap installed above every unit
- Fasteners and exposed hardware rated for corrosion resistance in a marine environment
- NFRC label and DP rating match the project's energy code and wind exposure needs
- Sealant used only where the manufacturer's instructions call for it
- Every opening photographed and documented before siding covers it
Why a Crew That Already Works Marietta Matters
A window is only as good as the wall it's flashed into, and a crew that's worked other builds in the Marietta area already knows how that shoreline exposure behaves on a real job site — which elevations catch the worst of the wind-driven rain, how quickly a wall can pick up moisture in the wet months, and what Whatcom County's inspectors expect to see on a new-construction flashing job. That local experience shows up as fewer surprises: openings that get flagged before the windows are ordered, flashing sequences that account for the specific exposure of a shoreline lot, and a crew that isn't learning the area's climate on your project.
If you're building near Birch Bay and want windows installed the right way from the start, we're glad to walk the plans, talk through frame and rating options for your specific site, and put together a straightforward, no-pressure estimate — just fill out the form below to get started.