 Birch Bay Siding
 Storm Damage Roofing Built for Custer's Weather, Not a Generic Climate
Custer sits close enough to the Salish Sea that homes here take on the same salt-laden air and wind-driven rain as the rest of the Birch Bay area, but with its own mix of open farmland exposure and tree cover that changes how storms hit a roof. When a system rolls in off the water, it doesn't just rain straight down — wind pushes moisture sideways, up under shingle tabs and behind flashing that would stay dry in a calmer climate. That's the difference between a roof that just got wet and a roof that took damage.
We work on homes throughout Whatcom County, and Custer roofs tend to show a specific pattern: wind-lifted shingles along exposed slopes, flashing that's worked loose from repeated freeze-thaw and wet-dry cycling, and moss colonies that have been quietly holding moisture against the roof deck for months before anyone notices a leak inside. Storm damage repair here isn't just patching what's visibly broken — it's checking for what the last several storms have been setting up.
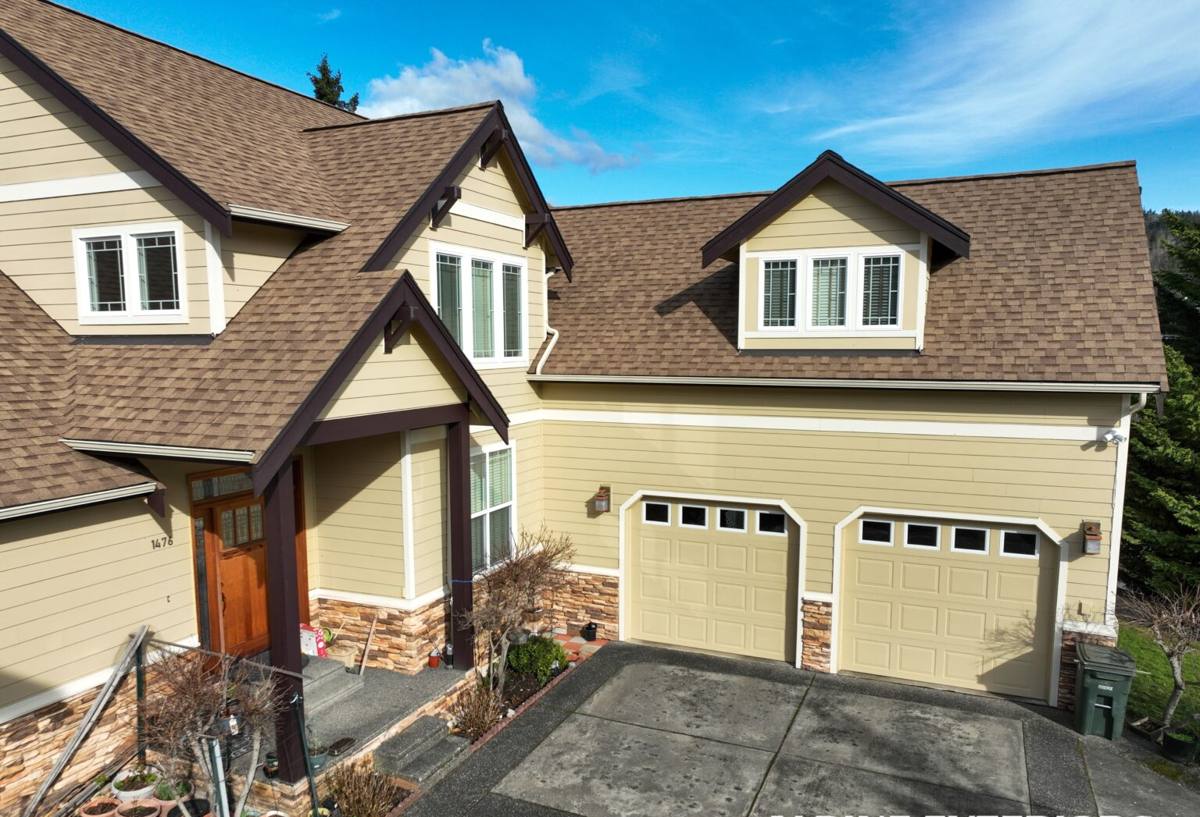
What Actually Counts as Storm Damage
Homeowners often picture storm damage as a tree limb through the roof. That happens, but most of the storm-related roof calls we get in this area involve less dramatic, more common problems:
Wind Damage
Gusts off the water can lift shingle tabs, crease them, or tear them off entirely, especially along ridges, eaves, and any slope that faces the prevailing wind. Once a shingle's seal is broken, it doesn't always blow away — it can sit there looking mostly fine while water works underneath it during the next rain.
Wind-Driven Rain
Rain that comes in at an angle finds every weak point in flashing around chimneys, skylights, vent pipes, and roof-to-wall transitions. These are the leaks that show up as a stain on a ceiling weeks after the actual storm, which throws people off about the real cause.
Moss and Debris Load
Whatcom County's long wet season keeps moss growing on north-facing slopes and shaded roof sections most of the year. Moss holds water against shingles and can lift them at the edges, and a heavy, wet moss mat adds real weight during a storm. Needles and leaf litter clogging valleys and gutters do the same thing — they dam water and push it backward under roofing material.
Impact Damage
Falling branches, wind-blown debris, and the occasional hail event can bruise or puncture shingles. Impact damage is sometimes obvious and sometimes not — a bruised shingle can look intact but have lost its granule protection and structural integrity underneath.
Why Waiting Costs More Than the Repair Itself
A torn shingle or a gap in flashing is a straightforward fix when it's caught early. Left through another two or three storms, that same small opening lets water into the roof deck, insulation, and eventually framing or drywall. In a climate that stays wet as much of the year as this one does, hidden moisture doesn't dry out on its own between storms — it just keeps accumulating. We've opened up roof sections where the visible damage was minor but the plywood decking underneath had already gone soft. That's the difference between a repair measured in hours and one that involves structural carpentry.
What a Correct Storm Damage Repair Involves
A repair that actually holds up through the next storm season covers more ground than just swapping out broken shingles:
- A full roof inspection, not just a look at the obvious damage point, since wind and rain rarely affect only one spot
- Checking the roof deck itself for soft spots, delamination, or rot wherever water may have gotten underneath the surface
- Inspecting and, where needed, replacing flashing around chimneys, vents, skylights, and wall transitions
- Confirming underlayment is intact in the repair area, since it's the last line of defense if the surface layer fails again
- Matching replacement shingles or roofing material as closely as possible in type, weight, and color
- Clearing moss, debris, and organic buildup from the repair area and surrounding roof sections
- Checking attic ventilation, since poor airflow accelerates moss growth and traps moisture against the deck from underneath
Skipping any of these steps means the repair addresses the symptom without the cause — a common outcome when a roof gets patched fast to stop an active leak without a proper follow-up inspection.
Our Process for Custer Storm Repairs
1. Inspection and Documentation
We walk the roof (or use a pole camera on steep or fragile sections) and document damage with photos, including areas that may not be causing an active leak yet but show wear from storm exposure — lifted tabs, cracked sealant, worn flashing.
2. Straight Answers Before Any Work Starts
We explain what's damaged, what's just weathered, and what we'd actually recommend fixing now versus what can be monitored. If a full section or slope needs replacement rather than a patch, we'll say so and explain why — and we'll say when a patch is genuinely the right call, too.
3. Insurance Support
If the damage is significant enough for a homeowner's insurance claim, we provide the documentation and scope of work an adjuster needs. We're not a public adjuster and don't negotiate claims on a homeowner's behalf, but a clear, itemized inspection report makes that conversation go a lot smoother.
4. The Repair
We match materials, replace what's damaged down to sound decking, reflash where needed, and reseal properly rather than relying on caulk as a shortcut. Cleanup includes clearing debris and moss from the work area and nearby roof sections that feed water toward it.
5. Follow-Up
After the repair, we'll flag anything else worth watching — an aging slope, a ventilation issue, moss that's likely to return — so there are no surprises next storm season.
Repair Cost Factors
Every storm repair is different, but the same handful of factors drive most of the cost variation we see on Custer roofs:
| Factor | Why It Matters |
|---|---|
| Extent of decking damage | Surface shingle replacement is quick; soft or rotted plywood underneath requires carpentry before new roofing goes on |
| Roof pitch and access | Steep slopes and multi-story roofs take longer and need more safety setup, which affects labor time |
| Material matching | Older or discontinued shingle lines can be harder to match, sometimes pushing a repair toward a larger section replacement for a consistent look |
| Flashing complexity | Roofs with multiple chimneys, skylights, or dormers have more flashing transitions, each a potential leak point needing attention |
| Moss and organic buildup | Heavy moss coverage adds cleanup time and may reveal additional damage once removed |
| Insurance vs. out-of-pocket | Claims-based repairs involve documentation and adjuster coordination that affects timeline, though not necessarily total cost to the homeowner |
Materials That Hold Up in This Climate
We don't push a single roofing product as the answer for every home. What matters is matching the material to the home's exposure and the homeowner's priorities:
Asphalt Composition Shingles
The most common choice for repairs and re-roofs in this area, largely because they're straightforward to match to existing roofs and perform well when properly ventilated and kept clear of moss. Algae-resistant (often labeled "AR") shingles are worth the modest upgrade cost on homes with shaded or north-facing slopes, since they resist the dark streaking and moss growth that's common in this climate.
Metal Roofing
Metal sheds moss and debris more easily than shingles and holds up well to wind, but it's a bigger investment and isn't always the right fit for a partial storm repair on an otherwise shingle roof — mixing materials on one roof plane creates its own set of transition and warranty issues.
Underlayment and Ice-and-Water Shield
Regardless of the surface material, we treat underlayment as non-negotiable in storm repair work. In a climate with this much wind-driven rain, a synthetic underlayment or self-adhering membrane at vulnerable points (eaves, valleys, penetrations) is often what actually stops a leak, even when the visible shingle layer is doing its job.
Why a Crew That Already Works in Custer Matters
Storm damage repair isn't just a technical skill — it's a familiarity thing. A crew that regularly works Custer and the wider Birch Bay area already has a feel for which roof slopes take the worst of the wind, how fast moss comes back on shaded sections, and what a genuinely storm-damaged roof looks like versus one that's just old and weathered. That local pattern recognition means a faster, more accurate inspection and fewer surprises mid-repair. It also means we're not guessing at material availability or driving in from out of the area every time a follow-up visit is needed.
Simple Checks You Can Do After a Storm
Before calling anyone, a homeowner can do a quick, ground-level check for the most common warning signs:
- Granules collecting in gutters or at downspout outlets, which signal shingle wear or damage
- Shingles that look curled, cracked, or visibly out of alignment from the ground
- Moss patches, especially on north-facing or shaded slopes
- Sagging anywhere along the roofline, which can indicate deck or structural issues underneath
- Water stains, bubbling paint, or soft spots on ceilings and upper walls inside the home
- Debris buildup in valleys or around chimneys and vents
- Flashing that looks bent, lifted, or separated from the roof surface
None of these require getting on the roof — a walk around the outside and a look at ceilings inside is enough to know whether a closer inspection is worth scheduling.
If a recent storm has you wondering whether your roof took damage, we're glad to take a look. We offer free, no-pressure estimates for Custer homeowners — a straightforward inspection, an honest read on what needs attention now versus what can wait, and a clear scope of work if repairs are needed. Use the form below to get started.