 Birch Bay Siding
 Birch Bay Village and the Realities of Shoreline Siding
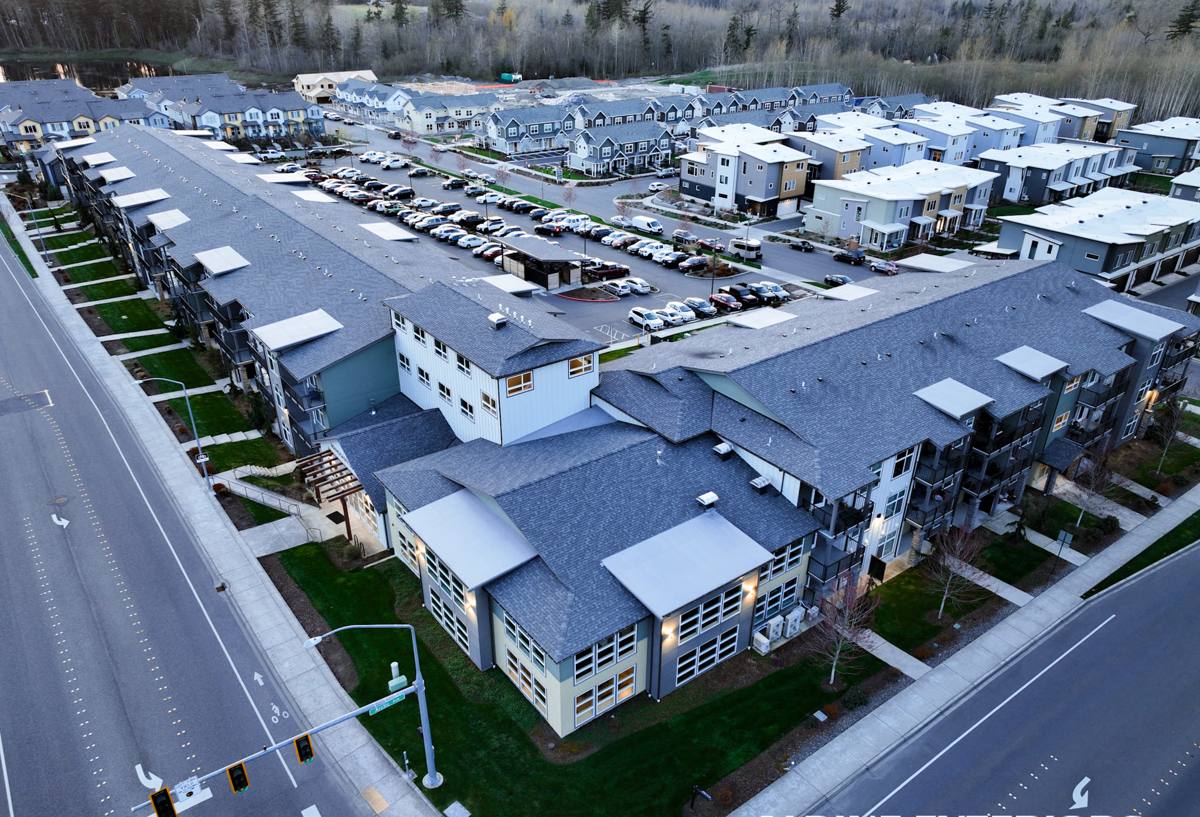
Birch Bay Village sits close enough to the water that the weather off the bay is part of daily life, not an occasional inconvenience. Homes here take on a steady diet of salt-laced air, wind-driven rain, and the kind of persistent shade and dampness that lets moss and algae get a foothold on anything that stays wet too long. That combination is harder on exterior siding than what a typical inland Whatcom County home deals with, and it shows up fastest at the parts of a house that are easiest to overlook — bottom courses near grade, corners that catch the wind, and north-facing walls that never fully dry out between storms.
This page is about one job in one place: installing James Hardie fiber cement siding correctly on a Birch Bay Village home. Not a general siding overview, not a sales pitch for every product on the market — just what this climate demands, what a correct installation actually involves, and why the crew doing the work matters as much as the material itself.
What Salt Air, Driving Rain, and Moss Actually Do to a Home
Salt and Moisture
Salt in the air isn't just a coastal curiosity — it's a fine, corrosive residue that settles on every exterior surface and holds moisture longer than plain rainwater would on its own. Over years, that constant low-grade dampness accelerates rot in wood-based products, pits and corrodes lower-grade metal fasteners and trim, and breaks down paint films faster than the same product would fail a few miles inland.
Wind-Driven Rain
Storms rolling in off the water don't just fall straight down — wind pushes rain sideways and up under laps, trim, and penetrations that were never designed to shed water from that angle. A siding system that relies on caulk and paint alone to stay watertight, instead of proper lapping, flashing, and a drainage plane behind it, is the first thing to fail in this kind of exposure.
Moss and Shade
Whatcom County's long wet season and Birch Bay's tree cover and marine air mean moss and algae aren't a cosmetic nuisance here — they're a maintenance reality on north- and west-facing walls, under eaves, and anywhere airflow is limited. Siding that absorbs moisture gives moss something to grow into, not just onto, which shortens the life of the material underneath it.
Why We Install Only James Hardie Fiber Cement Here
We standardized on James Hardie fiber cement siding for every job we take on, and in a shoreline community like Birch Bay Village the reasoning is straightforward.
It Doesn't Feed the Problem
Fiber cement is made from cement, sand, and cellulose fibers — it has no wood grain to rot, delaminate, or feed fungal growth. That matters directly in a moss-prone, salt-air environment: the board itself isn't organic material for moisture and growth to exploit the way wood-based sidings can be.
Dimensionally Stable in Wet-Dry Cycling
Coastal weather means constant cycling between saturated and dry conditions. Fiber cement expands and contracts far less than wood or wood-composite siding through that cycling, which keeps joints, caulk lines, and paint films intact longer instead of working themselves loose season after season.
ColorPlus Factory Finish
James Hardie's ColorPlus finish is baked on at the factory under controlled conditions, not brushed or sprayed on-site. It resists fading and chalking better than field-applied paint and holds up better against the combination of UV, salt, and moisture that a Birch Bay Village home sees. It also comes with its own finish warranty, separate from the product warranty on the board itself.
HZ Product Engineering for This Climate
James Hardie engineers its siding in region-specific HZ formulations, and the Pacific Northwest falls into the wet-climate specification built to resist moisture absorption and freeze-thaw stress better than the standard formulation used in drier regions. For a shoreline property, that's not a marketing detail — it's the difference between a product engineered for this weather and one that merely tolerates it.
We don't install vinyl, LP SmartSide, Cemplank, Allura, primed spruce, or cedar. Each of those has legitimate uses elsewhere, but every one of them asks a homeowner to accept a trade-off — moisture sensitivity, coating maintenance, impact vulnerability, or a shorter realistic service life — that we don't think makes sense to build into a home sitting this close to the water. James Hardie is what we stand behind and what we put on every house we work on.
What a Correct Installation Looks Like on a Birch Bay Village Home
The siding material is only half the job. Most siding failures we get called out to inspect — regardless of brand — trace back to installation shortcuts, not the product itself. In a high-exposure location that margin for error gets even thinner.
Clearances and Ground Contact
Manufacturer specs call for a minimum clearance between the bottom edge of the siding and grade, roofing, decks, and paved surfaces. Skipping that clearance is one of the most common shortcuts we find on older installs, and it's exactly the detail that lets splash-back moisture and standing water start working on the bottom courses first.
Flashing at Every Penetration
Windows, doors, hose bibs, light fixtures, vents — every penetration through the siding plane needs proper flashing and integration with the water-resistive barrier underneath, not just a bead of caulk. Caulk fails; correctly lapped flashing sheds water for the life of the wall.
Fastening Done to Spec
James Hardie specifies fastener type, placement, and depth, and those specs exist for a reason — overdriven or misplaced fasteners crack boards, create entry points for water, and void warranty coverage. In salt air, we also pay attention to fastener corrosion resistance, since the wrong fastener can start staining and failing well before the siding around it does.
A Drainage Plane Behind the Siding
Even the best cladding needs a way to shed the moisture that gets past it. A correctly installed water-resistive barrier — and a rainscreen gap where conditions call for it — gives incidental moisture a path to drain and the wall a chance to dry, instead of trapping it against the sheathing.
Our Process for Birch Bay Village Jobs
- Walkthrough and assessment: We look at existing siding, trim, and sheathing condition, note problem areas typical of shoreline exposure (corners, low walls, shaded elevations), and measure for material.
- Written estimate: A clear scope covering removal, any sheathing or moisture-barrier repair found underneath, product line and color, and installation details specific to your home's exposure.
- Tear-off and inspection: Removing the old siding lets us actually see the sheathing and framing underneath — this is where hidden moisture damage from a previous installation often turns up.
- Water-resistive barrier and flashing: Installed or repaired to current spec before a single piece of new siding goes up.
- James Hardie installation: Fastened, lapped, and flashed to manufacturer spec, with clearances held at grade, roofline, and all penetrations.
- Final walkthrough: We go over the finished job with you before we consider it done.
Cost Factors for Birch Bay Village Siding Projects
Every home is different, and we don't quote a number without seeing the house, but these are the factors that actually move the price on a Birch Bay Village project:
| Factor | Why It Matters Here |
|---|---|
| Home size and wall complexity | More corners, gables, and dormers mean more cutting, flashing, and labor time |
| Condition of existing sheathing | Shoreline homes more often need sheathing repair once old siding comes off |
| Siding profile chosen | Lap siding, panel siding, and shingle-style profiles differ in material and labor cost |
| Trim and accessory scope | Corner boards, fascia, and soffit work done at the same time affects total project cost |
| Access and site conditions | Waterfront lots, slopes, and limited staging area can add labor time |
Keeping Your Siding Looking Right in This Climate
James Hardie siding is low-maintenance compared to wood, but "low-maintenance" doesn't mean "no maintenance," especially this close to the water. A few habits go a long way:
- Rinse salt residue and grime off exterior walls once or twice a year, especially on wind-exposed elevations
- Keep gutters clear so overflow doesn't run down the face of the siding
- Trim back vegetation and branches that keep a wall shaded and damp longer than it needs to be
- Check caulking around windows, doors, and trim annually — caulk is a maintenance item even on a system that doesn't rely on it structurally
- Address moss or algae growth early with a gentle wash rather than letting it establish and spread
- Watch bottom courses near grade and decks for any early signs of staining or moisture
Why Hiring a Crew That Already Works Birch Bay Village Matters
Siding crews that mostly work inland don't run into shoreline conditions often enough to build habits around them — the extra attention to clearances, flashing, and fastener choice that a marine-exposure home actually needs. A crew that regularly works Birch Bay Village and the surrounding Whatcom County shoreline has already seen what happens when those details get skipped, because we're often the ones called in to fix it years later. That experience shapes how carefully we handle the details that don't show up on a finished wall until a few winters have passed.
We install James Hardie exclusively, which means every job we run uses one product system we know thoroughly rather than switching between materials and specs from one house to the next. For a Birch Bay Village home, that focus — the right product, installed to spec, by a crew that knows this stretch of coastline — is what actually determines how the siding holds up.
If you're planning a siding project in Birch Bay Village, we're happy to walk the property and put together a free, no-pressure estimate. There's a form below to get started whenever you're ready.