 Birch Bay Siding
 Building New Near Nooksack? Window Installation Isn't the Same Job as a Replacement
If you're building a new home in the Nooksack area, the windows going into your walls are being installed into an open frame — no existing siding, no old flashing to work around, no guesswork about what's hiding behind the drywall. That's an advantage, but only if the crew doing the work treats it that way. New-construction window installation is a sequencing job: the window has to go in at the right point relative to the weather-resistive barrier (WRB), the flashing, and the siding, in the right order, with the right materials. Get the sequence wrong and you won't see the problem for a year or two — you'll see it as a stain on the drywall below a window after the first hard winter storm off the Strait.
We install new-construction windows for builders and homeowners throughout Whatcom County, including properties in and around Nooksack, and we treat this as a distinct trade from window replacement. The tools, the flashing details, and even the window units themselves (nail-fin versus block-frame, for example) are different. This page covers what a correct new-construction window installation actually involves in this climate, and what to expect if you hire us to do it.
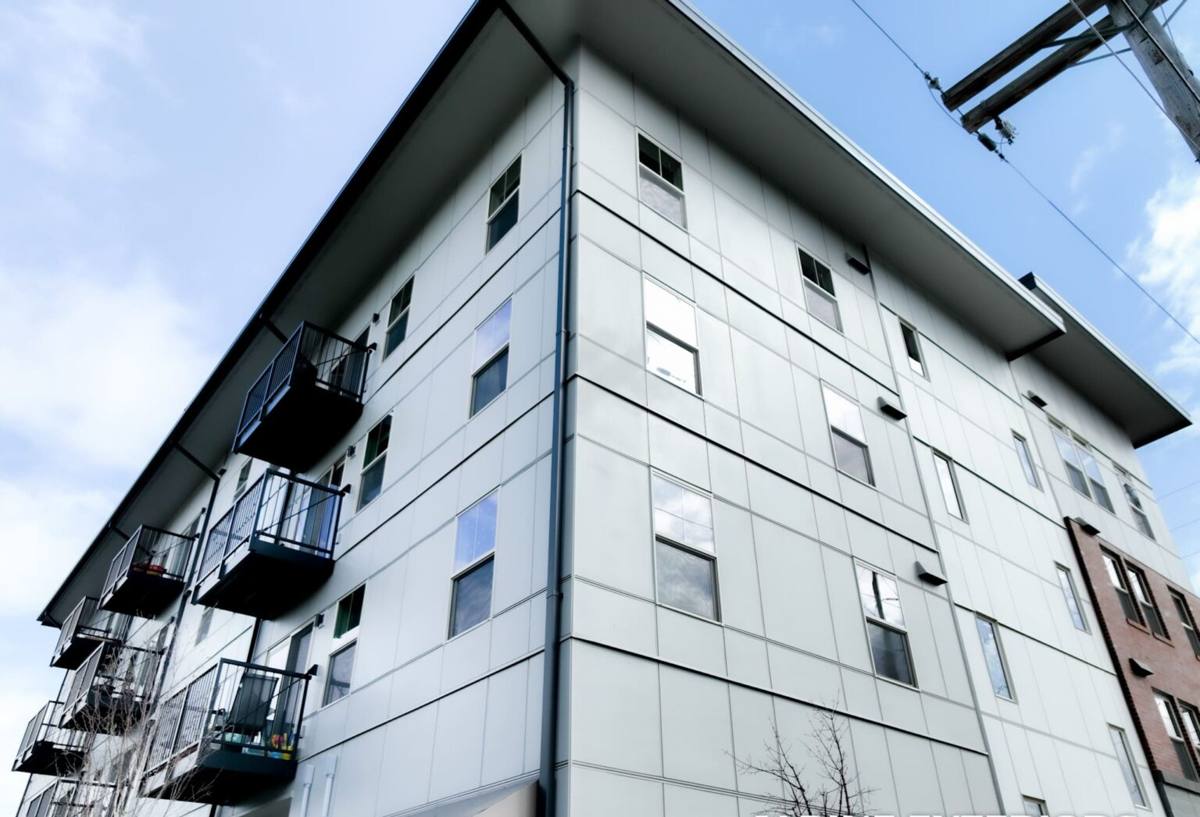
What Whatcom County Weather Does to a New Build's Windows
Whatcom County's marine climate is generous with moisture. Homes near Birch Bay and the surrounding lowlands, including the Nooksack area, deal with a long wet season, wind-driven rain off the water, salt-laden air near the coast, and enough shade and humidity most of the year to grow moss on anything that stays damp. None of that is dramatic on its own — it's the cumulative, year-after-year exposure that separates a window installation that lasts from one that fails quietly behind the wall.
- Driving rain: Wind pushes rain sideways and upward under sills and around nailing flanges that aren't flashed correctly, not just straight down where a bad installer might expect it.
- Salt air: Closer to the water, airborne salt accelerates corrosion on fasteners, hardware, and unprotected metal flashing — plain steel doesn't hold up here the way it might inland.
- Moss and organic growth: Shaded north and east elevations, common on wooded Nooksack-area lots, stay damp longer and are more prone to moss and algae staining around window trim if water isn't shed cleanly.
- Long wet season: Months of sustained moisture exposure mean a marginal flashing detail that might survive a drier climate will eventually leak here — it's a matter of when, not if.
New construction gives us the chance to build the water management right the first time, before siding closes it all up. That's the real value of hiring a crew that already understands this climate rather than one installing windows the same way they would in a dry region.
Getting the Water Management Right: Flashing, Sill Pans, and the WRB
A window opening in a new wall is really a hole in your building's water-management system, and the window is only one part of closing that hole correctly. Most window leaks — in new construction or otherwise — trace back to a flashing detail, not the window unit itself.
Sill Pan Flashing
Every new-construction window we install gets a sloped or back-dammed sill pan at the rough opening before the window ever goes in. This gives any water that does get past the window — through wind-driven rain, condensation, or a future sealant failure — a way out instead of a way into the wall cavity. Skipping the sill pan is one of the most common shortcuts we see on rushed builds, and it's the single detail most likely to cause a hidden leak years later.
Head Flashing and the Drainage Plane
Above the window, head flashing has to be integrated with the WRB in the correct shingle-lap order — house wrap over the flashing, flashing over the window flange — so water draining down the wall sheds over the window instead of behind it. Side flashing (jamb flashing) ties the sill and head details together into one continuous drainage plane.
Sealant: Where It Belongs and Where It Doesn't
Sealant is a backup, not a strategy. We use it at specific points the window manufacturer specifies, not as a substitute for correct flashing lap order. A wall that depends on caulk to stay dry is a wall that will eventually leak — caulk degrades, flashing doesn't.
Choosing Window Frame Materials for a Nooksack-Area New Build
Frame material matters more here than in a drier climate, because whatever you choose will spend decades absorbing coastal humidity and, on many lots, filtered or direct salt air. There's no single right answer for every project — it depends on your budget, your home's design, and how much upkeep you want to take on.
| Frame Material | Moisture & Salt Air Behavior | Maintenance | Typical Cost Position |
|---|---|---|---|
| Vinyl | Won't rot or corrode; performs well in wet, salt-influenced air | Low — occasional cleaning | Most economical |
| Fiberglass | Excellent dimensional stability and moisture resistance; strong choice near the water | Low | Mid to upper-mid |
| Aluminum-clad wood | Good exterior protection if the cladding and seals stay intact; wood core needs the cladding to do its job | Moderate — watch for cladding seams and joints | Upper |
| Bare wood | Handsome, but the least tolerant of sustained coastal moisture without diligent upkeep | High — regular painting/sealing | Upper, plus ongoing cost |
For most new builds in this area, we steer clients toward vinyl or fiberglass for the moisture and maintenance advantages, and reserve wood or wood-clad for design-driven choices where the homeowner understands and accepts the upkeep. That's a professional recommendation based on how these materials age in wet coastal climates over time, not a knock on any manufacturer's product.
Energy Performance: Building to Whatcom County's Climate, Not a Catalog Default
Washington's energy code sets minimum performance requirements for new-construction glazing, and Whatcom County's cool, cloudy, wet climate calls for different priorities than a hot, dry climate would. We focus on:
- U-factor: How well the window resists heat loss — the number that matters most in our heating-dominated climate.
- Low-E glass coatings: Reduce heat loss in winter while helping manage solar gain in summer, tuned for our moderate sun exposure rather than a high-desert climate.
- Argon or krypton gas fill: Improves insulating performance between panes at minimal added cost.
- Proper sizing and code compliance: Egress requirements for bedrooms, and overall glazing performance that meets or exceeds current Washington State Energy Code minimums for our climate zone.
We'll walk through NFRC label numbers with you in plain terms — U-factor, SHGC, and air leakage — so you understand what you're buying instead of just trusting a sticker.
Our New-Construction Window Installation Process
- Plan review and coordination: We review the window schedule and rough opening dimensions with the builder or GC before framing is finalized, so openings are sized correctly the first time.
- Rough opening inspection: Before install day, we check that openings are square, level, and properly sized — squared and shimmed openings are what let a window perform the way it's rated to.
- Sill pan and flashing installation: Sill pans, head flashing, and jamb flashing go in per manufacturer specs and shingle-lap order, integrated with the WRB.
- Window setting and fastening: The unit is set, shimmed for square and plumb, and fastened per manufacturer instructions — over-driven or under-driven fasteners are a common cause of frame distortion and operational problems down the road.
- Insulation and interior air sealing: The gap between the frame and rough opening is insulated and air-sealed correctly — packed too tight, low-expansion foam can actually bow a frame.
- Final inspection and documentation: We check operation, sealing, and flashing integration before the siding crew closes the wall around it — the last easy chance to catch a mistake.
Coordinating With Your Builder or GC
New-construction window work happens inside a larger build schedule, and timing matters. Windows installed too early can get damaged by other trades; installed too late, they hold up siding and interior finish work. Here's what we ask of the build team and what you should expect us to deliver on our end:
- Confirmed window schedule and rough opening sizes before framing is closed
- Dry, protected storage for window units on site until install day
- WRB installed and ready to receive flashing before we arrive
- Clear access for our crew that doesn't conflict with framing, electrical, or plumbing rough-in
- A walkthrough with the builder or homeowner once windows are set, before siding begins
Showing up on a job site that already has a plan, and fitting into it cleanly, is part of what a builder is paying for when they hire an experienced installer instead of the lowest bid.
Mistakes We See on Rushed New Builds
Most of the window problems we get called to fix later trace back to the same handful of shortcuts: missing or incomplete sill pans, flashing installed out of shingle-lap order, fasteners over-driven hard enough to bow the frame, or gaps sealed with caulk instead of proper flashing. None of these show up on inspection day. They show up two, five, or ten winters later as a stain, a draft, or soft trim. Building it right the first time, while the wall is still open, is dramatically cheaper than diagnosing and repairing it after the siding and interior finishes are in place.
If you're planning a new build in the Nooksack area or working with a builder who needs a window subcontractor who already understands Whatcom County's weather, we'd like to talk with you before the walls close up. Reach out for a free, no-pressure estimate — we're happy to review your window schedule and rough openings and walk you through exactly how we'll handle the install.