 Birch Bay Siding
 New-Construction Windows in Point Whitehorn: Getting It Right Before the Siding Goes On
Point Whitehorn sits at the far north end of Birch Bay's reach, close enough to the water that wind, salt air, and driving rain are a daily fact of life rather than an occasional event. If you're building new out here, the windows are one of the few components of the house that get exactly one chance to be installed correctly. Once siding, trim, and interior finishes go on, a bad window install is buried — and it usually doesn't show up as a problem until years later, as a stain on drywall, a soft spot in sheathing, or a window that won't operate smoothly anymore.
New-construction window installation is a different job from replacing a window in an existing wall. It happens earlier in the build sequence, it involves different flashing details, and it has to be coordinated with whoever is handling the weather-resistive barrier and siding. We work new-construction window installs in Point Whitehorn regularly, alongside builders and homeowners managing their own project, and this page walks through what the job actually involves and why the details matter more here than they would somewhere more sheltered.
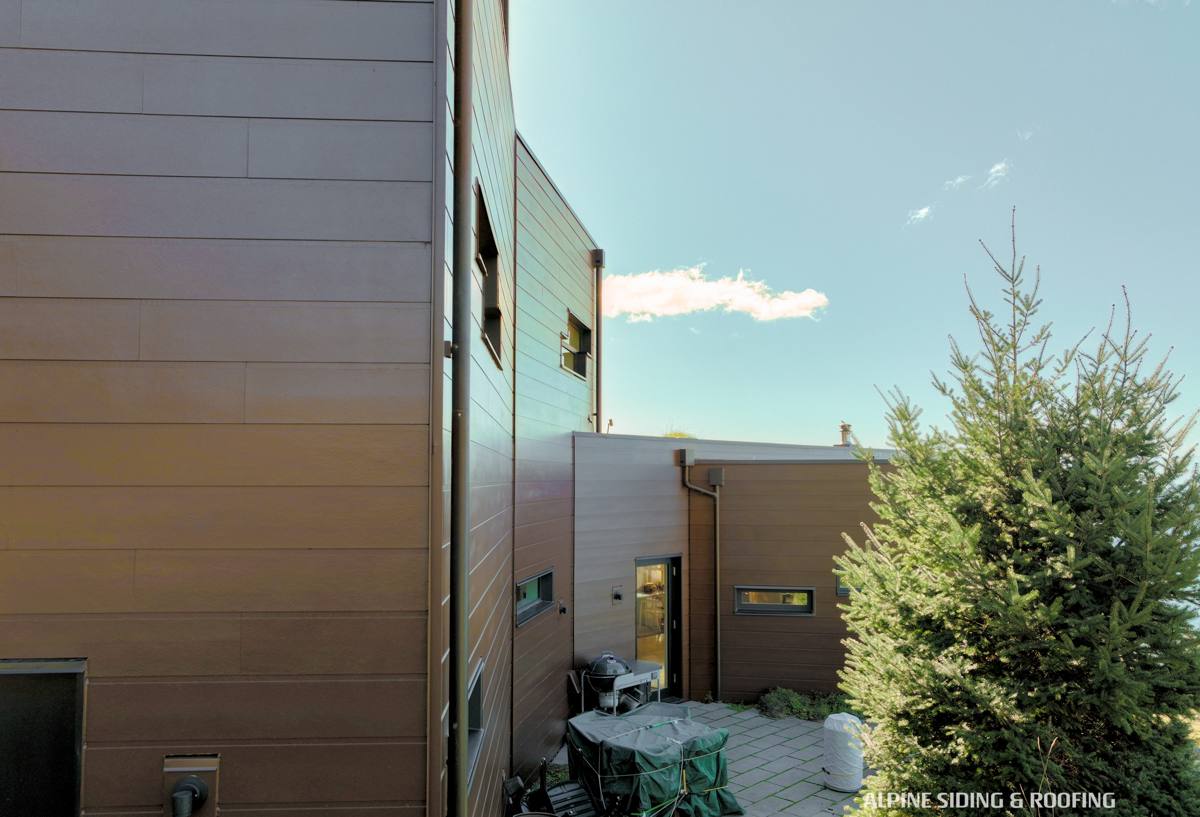
Why Point Whitehorn's Climate Demands Extra Care at the Window Opening
Salt air and hardware corrosion
Proximity to the water means airborne salt settles on everything, including window hardware, fasteners, and flashing metal. Over years, salt exposure accelerates corrosion on the wrong materials — cheap fasteners, unsealed flashing seams, and hardware that isn't rated for coastal exposure will show pitting and rust well before they would in an inland Whatcom County build. This isn't a reason to over-spec every component, but it is a reason to be deliberate about fastener type and flashing material at the window opening specifically, since that's where moisture and salt collect.
Driving rain and wind-driven water
Storms coming off the water push rain sideways into wall assemblies, not just straight down. A window opening that would perform fine in a calm, sheltered lot can leak in Point Whitehorn if the flashing sequence isn't shingled correctly — meaning each layer overlaps the one below it so water is directed out and down, never sideways into the wall. Wind-driven rain finds every shortcut in a flashing detail, which is why we treat this step as non-negotiable rather than a place to save time.
A long moss and moisture season
Whatcom County's wet season runs long, and moss doesn't just grow on roofs — it takes hold on any exterior surface that stays damp, including sills, trim, and low-slope surfaces around window openings that don't shed water well. Persistent dampness at a window opening, even a small amount trapped behind flashing, keeps sheathing wet for months at a time. That's the setup for rot, not a dramatic leak, and it's much harder to catch early.
New-Construction Windows vs. Replacement Windows: Why the Distinction Matters
Homeowners sometimes assume "installing a window" is the same job whether the house is new or twenty years old. It isn't, and the difference matters for anyone managing a build in Point Whitehorn.
| Factor | New-Construction Window | Replacement Window |
|---|---|---|
| When it's installed | Before siding, with open sheathing and WRB access | Into an existing, finished wall opening |
| Flashing method | Nailing fin set directly to sheathing, integrated with housewrap in shingle-lap order | Works around existing siding and trim, often with sealant-dependent details |
| Access to sheathing/framing | Full access — rot, gaps, and framing issues are visible and fixable | Limited — hidden damage may not be discovered until walls are opened |
| Coordination required | Sequenced with framer, WRB installer, and siding crew | Usually a standalone job |
| Long-term risk if done wrong | Concealed behind finished siding for years | Often shows leakage sooner since it disturbs existing finishes |
The upside of new construction is that everything is exposed and correctable before it gets covered up. The downside is that there's no forgiveness for skipping a step — there's no existing siding to catch water that a bad flashing detail lets through.
What a Correct New-Construction Window Install Actually Involves
Rough opening preparation
Before a window ever goes in, the rough opening needs to be square, properly sized to the window's specified dimensions, and free of debris or damaged framing. We check this rather than assume the framing crew got it exactly right — a slightly out-of-square opening is easy to fix now and very difficult to fix once the window is set.
Sill pan flashing first
The sill — the bottom of the opening — is where water that gets past the window itself will collect. A sill pan flashing creates a sloped, waterproof pan at the bottom of the rough opening so any water that reaches that point drains back out to the exterior instead of soaking into the framing below. This is one of the details that separates a durable install from one that fails quietly over several winters.
Weather-resistive barrier integration
The housewrap or WRB on the wall needs to integrate with the window flashing in the correct order — bottom flashing first, then side flashing lapped over it, then the top flashing and WRB lapped over the sides. Get this sequence backward and you've built a shelf that catches water instead of shedding it, exactly the kind of hidden mistake that shows up as a Point Whitehorn wall problem five or ten years down the road.
Nailing fin attachment
New-construction windows have an integrated nailing fin that fastens directly to the sheathing. Fastener spacing and type matter — under-fastened fins can allow the window to shift or the fin to pull away from the sheathing over time, especially under sustained wind loading, which this area gets its share of.
Sealing, backer rod, and insulation
The gap between the window frame and rough opening gets sealed and insulated correctly — not overpacked with expanding foam, which can bow window frames, and not left open, which creates a draft and condensation path. A bead of quality sealant and appropriately sized backer rod at the right joints finishes the air-sealing without compromising the window's ability to operate.
Choosing a Frame Material for a Point Whitehorn Build
Material choice affects both up-front cost and how the window performs against years of salt air and moisture. There's no single right answer for every home — it depends on budget, architectural style, and how much long-term maintenance you want to take on.
| Frame Material | Typical Cost Position | Coastal Considerations |
|---|---|---|
| Vinyl | Lowest | Good moisture resistance, no repainting; quality varies significantly between manufacturers |
| Fiberglass | Mid to upper-mid | Dimensionally stable in temperature swings, holds up well to sustained moisture exposure |
| Wood-clad (exterior clad, wood interior) | Higher | Attractive interior finish; the exterior cladding needs to be fully intact since damaged clad exposes wood to salt-laden moisture |
| Aluminum | Varies | Strong but a poor thermal performer and prone to condensation unless thermally broken; less common in residential new construction here |
Whatever material you choose, the installation details above matter more than the frame material itself. A premium window installed with a poor flashing sequence will fail before a mid-range window installed correctly.
How We Work With Builders and Homeowners in Point Whitehorn
On a new build, timing is everything — windows typically go in after the WRB is up and before siding starts, which means we're coordinating directly with the framing and siding schedule rather than working in isolation. We walk the openings before install day, confirm rough opening sizes against the window order, and flag any framing issues before they become install-day problems. After the windows are set and flashed, we don't consider the job done until the siding crew has a clear, documented handoff on how our flashing laps with their weather-resistive barrier and trim details — this is the step that gets skipped when trades don't talk to each other, and it's exactly the step that causes leaks years later.
A Pre-Install Checklist We Follow on Every New-Construction Window Job
- Rough openings verified square, level, and correctly sized before any window arrives on site
- Sill pan flashing installed and sloped to drain to the exterior
- WRB and flashing integrated in correct shingle-lap order, bottom to top
- Nailing fin fastened per manufacturer spacing, with fasteners suited to coastal exposure
- Interior gap sealed and insulated without overpacking or leaving voids
- Exterior sealant joints checked for full, continuous beads at all four sides
- Handoff documented for the siding crew before the wall gets closed in
Why It Matters That We Already Work in Point Whitehorn
Every coastal community handles wind, rain, and salt a little differently depending on exposure, tree cover, and lot orientation. Working in Point Whitehorn regularly means we've seen how this specific stretch of Whatcom County behaves through a wet winter and a windy fall storm, not just how a window is supposed to perform on paper. That local pattern recognition is what tells us where to be extra careful on a given lot — a more exposed opening facing the water gets treated differently than one tucked behind mature trees, even on the same street.
New-construction window installation isn't a place to cut corners to save a day on the schedule. Done right, it's a step that disappears into the wall and never gets thought about again. Done wrong, it's a repair bill and a headache years down the line, often after the original builder has moved on.
If you're planning a new build or major addition in Point Whitehorn and want the window installation handled correctly from rough opening to flashing handoff, we're happy to walk the site and provide a free, no-pressure estimate — just fill out the form below.