 Birch Bay Siding
 Why Window Installation on Lummi Island Is Different
Lummi Island sits out in the water, and that changes what a window installation has to survive. Every wall on the island gets more direct exposure to salt-laden air than a house set back in town, and that air works on unprotected metal — screws, hinges, flashing, even nail heads — faster than most homeowners expect. Add driving rain that comes in sideways off the water during winter storms, and a long moss season that keeps siding, trim, and window sills damp for weeks at a time, and you have a combination that punishes a window that was installed "close enough." We're based just across the water in Birch Bay, and the same Whatcom County marine climate that shapes our own jobsite decisions is exactly what Lummi Island homes are up against, just with fewer windbreaks and more direct salt exposure.
A window installed to a mainland-standard checklist can still leak, rot, or corrode early on an island lot facing open water. The fix isn't a different window — it's installing the same quality window with more attention to flashing, drainage, and sealant choices that account for constant moisture and salt.
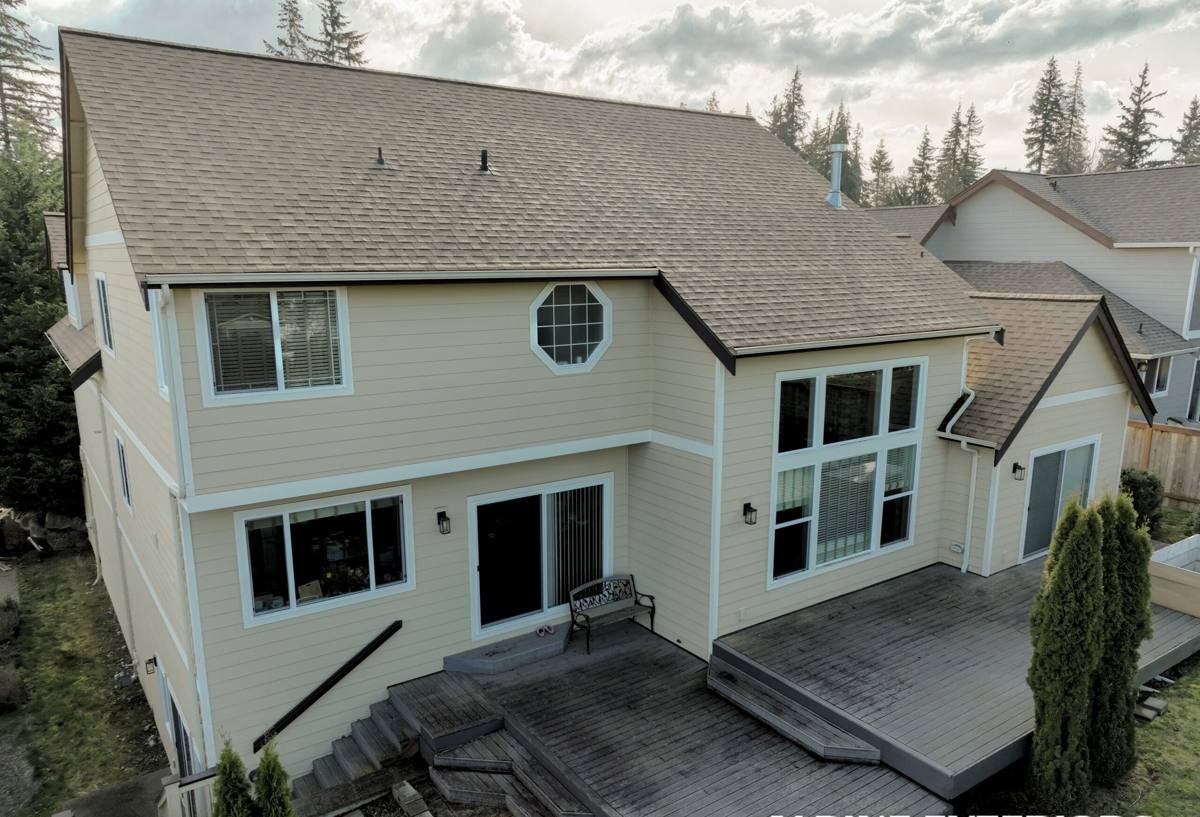
What a Correct Window Installation Actually Involves
Replacing a window is not just pulling the old one out and setting a new one in the same hole. Done right, it's a sequence of steps where skipping or rushing any one of them creates a slow leak that won't show up for a year or two — usually as soft trim, a musty smell, or a stain on the interior wall below the window.
Flashing and Moisture Management
The single most important part of any window installation is what you don't see once it's finished: the flashing. Housewrap has to be integrated with the window flange in the correct shingle-lap order — sill pan first, then side flashing, then head flashing, each layer overlapping the one below it so water is always directed outward and down, never behind the siding. On a driving-rain site like Lummi Island, we treat a sill pan as non-negotiable, not optional, because wind-driven water will find any gap at the bottom of the opening before it finds anywhere else.
Frame, Sill, and Rough Opening Prep
Before a new window goes in, the rough opening gets checked for square, level, and any rot or soft wood in the framing or sill. On older homes, this is often where damage from years of moisture intrusion gets found — and it needs to be repaired before the new window goes in, not covered over. Shimming has to support the frame evenly so the window doesn't rack out of square and bind, and fasteners go in at the manufacturer's specified points to keep the warranty intact.
Sealing, Insulation, and Interior Finish
Low-expansion foam or backer rod and sealant fills the gap between the window frame and rough opening — enough to stop air and moisture, not so much that it bows the frame. Exterior sealant beads get tooled properly and matched to a caulk rated for marine/UV exposure, since a cheap sealant will chalk and crack within a couple of seasons in this climate. Interior trim and stool go back cleanly, and the whole opening gets a final check for draft and water path before we call it done.
Glazing and Condensation Control
Coastal humidity and the extended damp stretch of moss season put more pressure on glazing than most people think about at the frame-material stage. Dual-pane glass with a low-E coating is the practical baseline for this climate — it cuts down on interior condensation that would otherwise fog glass and drip onto sills during cold, wet mornings. Triple-pane glass adds further insulation value and is worth considering on north- or water-facing walls that take the brunt of the wind, though it adds weight and cost that isn't always necessary on a sheltered elevation. The glazing spec matters as much as the frame material when the goal is a window that performs through a full Whatcom County winter.
Choosing Window Materials for Salt Air and Driving Rain
Every window material handles salt air, humidity, and constant rain a little differently. None of them are wrong choices — but each comes with trade-offs worth knowing before you commit.
| Frame Material | Salt Air / Moisture Behavior | Maintenance | Typical Cost Range |
|---|---|---|---|
| Vinyl | Won't corrode or rot; seams and hardware are the weak point over time | Low — occasional cleaning | Lower end of the range |
| Fiberglass | Very stable in wet, salty air; minimal expansion/contraction | Low | Mid to upper range |
| Wood, unclad | Handsome but needs consistent upkeep to resist rot near open water | High — repaint/reseal on a schedule | Mid range plus ongoing maintenance cost |
| Wood-clad (aluminum or vinyl exterior) | Good if cladding and flashing are detailed correctly; hardware and seams still need attention | Moderate | Upper range |
For most Lummi Island homes we recommend vinyl or fiberglass for anything facing open water directly, simply because there's less ongoing maintenance standing between the homeowner and a problem. Wood and wood-clad windows can absolutely work, especially where they matter for the look of an older home, but they ask for a real maintenance commitment in this climate — that's a fair trade-off, not a flaw, as long as it's a decision made with eyes open.
Our Process for Lummi Island Projects
On-Site Assessment and Measuring
We start with an in-person look at every opening — not just a phone estimate. Every house settles differently, and rough openings on older homes are rarely perfectly square. We measure each window individually and check the condition of the surrounding trim, sill, and siding while we're there, so surprises get caught before install day, not during it.
Getting Materials to the Island
Lummi Island is only reachable by ferry, which means every window, tool, and fastener for the job has to be staged and timed around the crossing. We plan material delivery and crew scheduling around that in advance so a project doesn't stall out waiting on a part that should have gone over on an earlier run. This is one of the practical reasons it matters to work with a crew that has done island jobs before.
Installation Day
Old windows come out carefully to protect the surrounding siding and interior finish. We inspect the opening, make any framing repairs needed, install flashing in the correct order, set and shim the new window, insulate the gap, and seal the exterior. We keep the work area protected from weather throughout — an opening doesn't sit open to a Lummi Island rain shower any longer than it has to.
Final Walkthrough and Cleanup
Every window gets operated, checked for square and smooth function, and inspected for a clean seal inside and out before we consider the job finished. Debris and old materials leave with us — we don't leave cleanup as a surprise chore for the ferry-limited disposal situation homeowners deal with out there.
Signs Your Current Windows Are Already Losing the Battle
Salt air and driving rain don't announce themselves right away. By the time a window is visibly failing, moisture has often been working on the frame or wall behind it for a while. Watch for:
- Soft or discolored wood trim around the window, inside or out
- Corrosion or white residue (chalking) on hardware, screws, or metal cladding
- Moss or dark staining collecting in the corners of the frame or sill
- Drafts or a noticeable temperature difference near the window in winter
- Windows that stick, won't latch fully, or are harder to open than they used to be
- Fogging or moisture between panes on double- or triple-glazed units
- Peeling paint or bubbling finish on the interior sill
Any one of these on its own isn't necessarily an emergency, but a few of them together usually mean water has found a way in and it's worth having someone look before the next storm season.
Why It Matters to Hire a Crew That Already Works Lummi Island
A window installer who mostly works inland jobs isn't wrong about windows — but they may not have thought through ferry-dependent scheduling, the extra corrosion resistance a coastal opening needs, or how much longer moss season keeps an unsealed gap wet on the island compared to a sheltered mainland lot. We're a Birch Bay-based crew that already routes regular work out to Lummi Island, so the ferry schedule, the material staging, and the climate detailing aren't things we're figuring out for the first time on your job. That translates into fewer surprises, a tighter timeline, and flashing and sealing decisions that are already dialed in for the conditions your house actually faces.
Protecting New Windows Through Moss Season and Beyond
A correctly installed window still benefits from a little seasonal attention in this climate. Keep weep holes at the base of the frame clear of moss, debris, and dirt so water has somewhere to drain. Rinse salt residue off frames and hardware a couple times a year, especially on sides facing open water. Check exterior caulk lines each fall before the wet season sets in, and touch up anything that's cracked or pulled away before it becomes a leak path. None of this is heavy maintenance — it's the kind of five-minute check that keeps a properly installed window performing for decades instead of years.
Permits and Code Considerations
Window replacement on Lummi Island falls under Whatcom County permitting and building code, and requirements can differ depending on whether you're doing a like-for-like replacement or changing the size of an opening. Bedroom windows have egress size requirements that matter if you're resizing, and energy code sets minimum performance standards for new windows on any home. We handle the permit question as part of the estimate conversation so there's no guessing about what a given project requires before work starts.
If your windows are showing their age, or you're planning ahead for a remodel, we're glad to come take a look and put together a straightforward, no-pressure estimate — just fill out the form below and we'll get in touch.