 Birch Bay Siding
 Building New in Ferndale Means Getting the Window Openings Right the First Time
Ferndale sits close enough to the Salish Sea and Birch Bay that new homes here take on a different kind of weather load than a house built forty miles inland. If you're framing a new build or a major addition in Ferndale, the window installation isn't a cosmetic step you handle after the fact — it's part of the building envelope, and it only gets done right once. Once siding, trim, and interior finishes go up around a window opening, fixing a bad install means tearing back into finished work.
New-construction windows are a different job than window replacement, and the distinction matters more here than in a lot of markets. A replacement window gets set into an existing, already-flashed opening — the old frame stays, and the new window is sized to fit inside it. A new-construction window has a nailing fin and gets installed into a bare rough opening, which means we control the entire water-management sequence from the sheathing out. That's an advantage if it's done correctly, and a real liability if it isn't.
New-Construction Windows vs. Replacement Windows
On a new build, there's no old frame to hide behind and no shortcuts available — every layer of flashing, tape, and sealant is visible and inspectable before the siding closes it up. That's exactly why this stage deserves a crew that treats water management as the main event, not a formality before the pretty part starts.
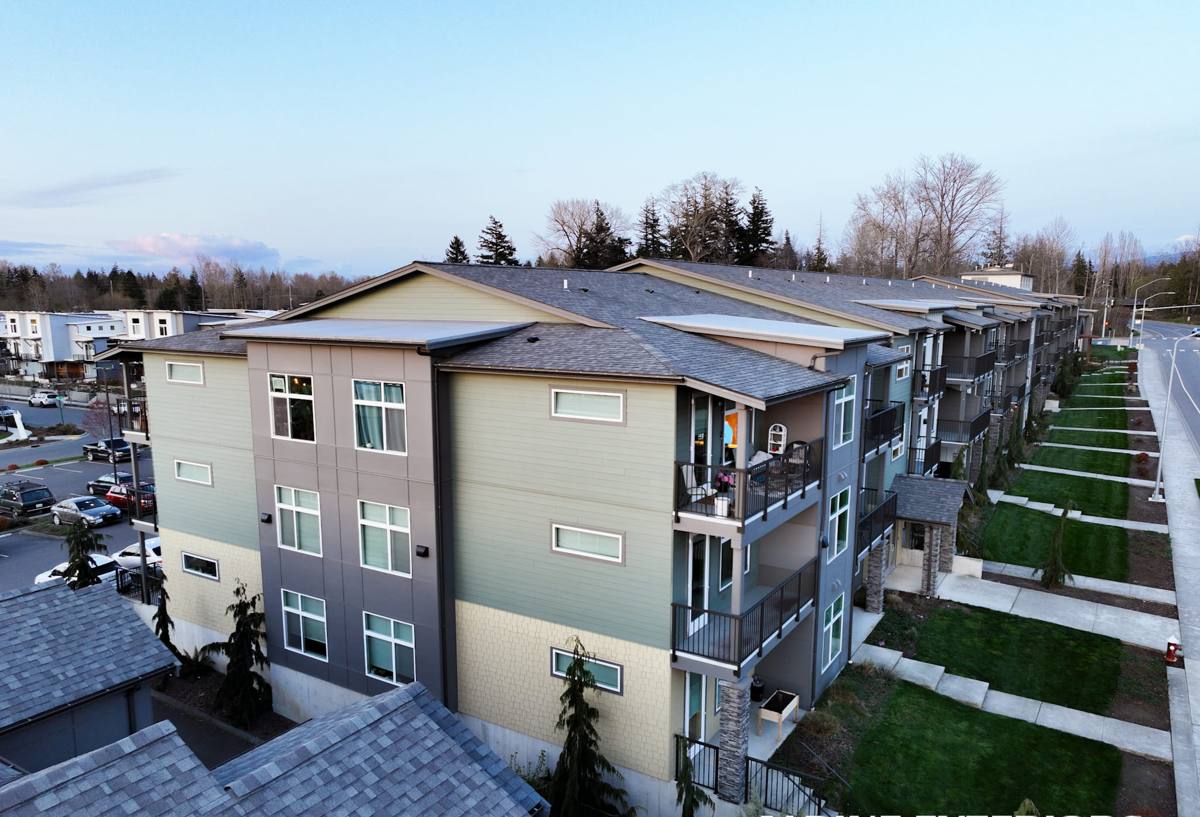
What Ferndale's Climate Actually Does to a Window Opening
Whatcom County weather isn't dramatic, but it's relentless, and that's the part new builders sometimes underestimate. Ferndale gets driving, wind-pushed rain off the Strait and Bellingham Bay for much of the year, not just straight-down rain that a simple drip cap can shed. Combined with the salt air that drifts inland from Birch Bay and the Salish Sea, that moisture works into any gap in the flashing sequence and starts corroding fasteners and softening sheathing long before it shows up as a visible leak inside.
Then there's moss season — realistically most of the fall through spring here — where shaded north and west elevations stay damp for weeks at a stretch. Moss and algae don't just grow on roofs; they colonize any horizontal surface on a window assembly that holds moisture, including sills and trim that weren't given a way to shed water and dry out. A window opening that's built with proper slope, drainage, and back-ventilation handles that fine. One that traps water behind the trim starts rotting from the inside, quietly, for years before anyone notices.
None of this is exotic engineering — it's standard best practice for coastal Pacific Northwest construction. But it only works if every layer is installed in the correct order, and that's where we see new builds go wrong even when the window itself is a good product.
What a Correct New-Construction Window Installation Involves
A window opening is a system, not a single product. The window itself is only as good as the flashing, sill pan, and sealant details that surround it, and on a new build we're building that whole system from scratch.
The Flashing and Water Management Sequence
- Rough opening is checked for square, level, and correct dimensions before anything is installed — an out-of-square opening stresses the frame and compromises the seal from day one.
- A sloped sill pan flashing goes in first, so any water that gets past the window has a built-in path back outside instead of pooling on the sill.
- Weather-resistive barrier (house wrap) is cut and integrated using the proper shingle-lap method — each layer overlaps the one below it so water is always directed downward and outward, never into the wall cavity.
- The window is set, shimmed level and plumb, and fastened through the nailing fin per the manufacturer's schedule — not just a few nails at the corners.
- Flashing tape goes over the fin at the sides and top, in the correct sequence, so the top flashing laps over the side flashing and sheds water like shingles.
- Sealant is applied at the specific points the manufacturer calls for — and only those points. Sealing the wrong spot (like the bottom of the nailing fin) traps water inside the wall instead of letting it drain.
- Interior air-sealing (low-expansion foam or backer rod, not just caulk) closes the gap between frame and rough opening for energy performance.
Skip or reorder any of those steps and the window can look perfect for a year or two before a leak shows up — usually in the worst possible place, inside a finished wall.
Choosing the Right Window for a New-Construction Ferndale Home
Frame material matters more here than in a dry climate, because it's fighting salt air and constant moisture cycling, not just sun and temperature swings. There's no single "best" material for every situation — it depends on the elevation's exposure, the home's design, and budget. Here's how the common options actually perform in this climate:
| Frame Material | Coastal/Moisture Performance | Maintenance | Typical Fit |
|---|---|---|---|
| Vinyl | Good — won't rot or corrode; seams and welds need to be quality-checked | Low — occasional cleaning | Most new builds; strong value |
| Fiberglass | Excellent — dimensionally stable, resists moisture and salt exposure well | Low | Exposed elevations, larger openings |
| Wood-clad | Good exterior protection, but any breach in the cladding exposes wood to rot | Higher — cladding and seals need periodic inspection | Interior aesthetic priority, protected elevations |
| Aluminum | Poor without thermal break — prone to condensation and corrosion near salt air | Moderate | Generally avoided for residential coastal use |
For most new builds in Ferndale, we steer homeowners toward vinyl or fiberglass on wind- and rain-exposed elevations, and we're comfortable using wood-clad on protected, covered elevations where a builder wants that interior look. We'll walk through the trade-offs for your specific plan rather than pushing one product line — the right call depends on orientation, roof overhangs, and how exposed each wall actually is.
Our Process for New-Construction Window Installs
We work directly with the general contractor or builder, since window installation has to land at the right point in the framing schedule — after sheathing and house wrap, before siding.
- Plan review: We check window schedules against rough openings and framing details before installation day, so surprises get caught on paper, not on site.
- Pre-install walkthrough: Every rough opening gets checked for square, flashing readiness, and sheathing condition.
- Installation: Full sill-pan and flashing sequence as outlined above, on every opening, every time — not just on the ones facing the weather.
- Quality check before siding: We photograph and verify flashing laps and sealant points while they're still visible, before siding crews close the wall.
- Manufacturer registration: Warranty paperwork gets filed so the homeowner has coverage on record from day one.
That last step gets overlooked more than people realize. A window's warranty is often tied to proof of correct installation, and if nothing's documented, a legitimate manufacturer defect claim years down the road can turn into a dispute instead of a straightforward repair.
Common Mistakes We See on New Builds Near the Coast
Most window failures we get called to diagnose in Whatcom County trace back to a handful of repeatable mistakes, not bad products:
- Sealant applied around the entire perimeter of the nailing fin, including the bottom — this traps water inside the wall instead of letting the sill pan drain it.
- House wrap taped in the wrong lap order, so water runs behind the wrap instead of over it.
- No sill pan flashing at all — just caulk and hope, which fails within a few wet seasons.
- Missing or blocked weep holes on the exterior trim, which is a direct contributor to the moss and algae buildup this area is prone to.
- Fasteners that aren't corrosion-resistant, which start rusting and staining within a year or two of salt-air exposure.
Every one of these is avoidable with a correct install sequence — none of them require exotic materials or extra cost, just doing the steps in the right order.
Pre-Install Checklist for Homeowners and Builders
If you're planning a new build or major addition in Ferndale, these are worth confirming before window installation starts:
- Rough openings match the window schedule dimensions, with allowance for shimming
- House wrap or building paper is installed and lapped correctly before window crews arrive
- Sill pan flashing is specified in the plans, not left to field judgment
- Window frame material is matched to each elevation's actual weather exposure
- Fasteners and flashing tape are rated for coastal/corrosive environments
- A photo record of flashing details is taken before siding installation begins
- Manufacturer warranty registration is planned as part of closeout, not an afterthought
Why Hire a Crew That Already Works Ferndale
A window installer who mostly works drier, inland markets can do competent work and still miss details that matter here — because the failure modes in Whatcom County show up slower and quieter than they would somewhere with less rain and no salt exposure. A crew that regularly works Ferndale, Birch Bay, and the surrounding coastal areas already knows which elevations take the worst wind-driven rain, how local inspectors expect flashing details documented, and where moss buildup tends to concentrate on a given roof and wall design. That local pattern recognition is the difference between a window install that just meets code and one that's actually built for the microclimate it's going into.
We're not asking you to take our word for the details that matter most — a correct installation is verifiable. Photos of the flashing sequence, manufacturer warranty registration, and a walkthrough of the rough opening before we start are all things a homeowner or builder can and should ask for from any contractor doing this work.
Get a Free Estimate
If you're framing a new home or addition in Ferndale and want the window openings done right the first time, we're glad to walk your plans and give you a straightforward, no-pressure estimate — no invented urgency, just a clear look at what your build needs.